


Answer Shopify customer questions via Respondo.ai
Do you want to be able to answer Shopify customer questions directly from your Respondo.ai mailbox? Then read on!

Steps to answer Shopify customer questions
Step 1: Create a Respondo.ai Shopify channel
1. Go to Settings in Respondo.ai.
- Navigate to 'Settings > Channels > Email' in your Respondo.ai dashboard.
- Click on the '+' to create a new channel.
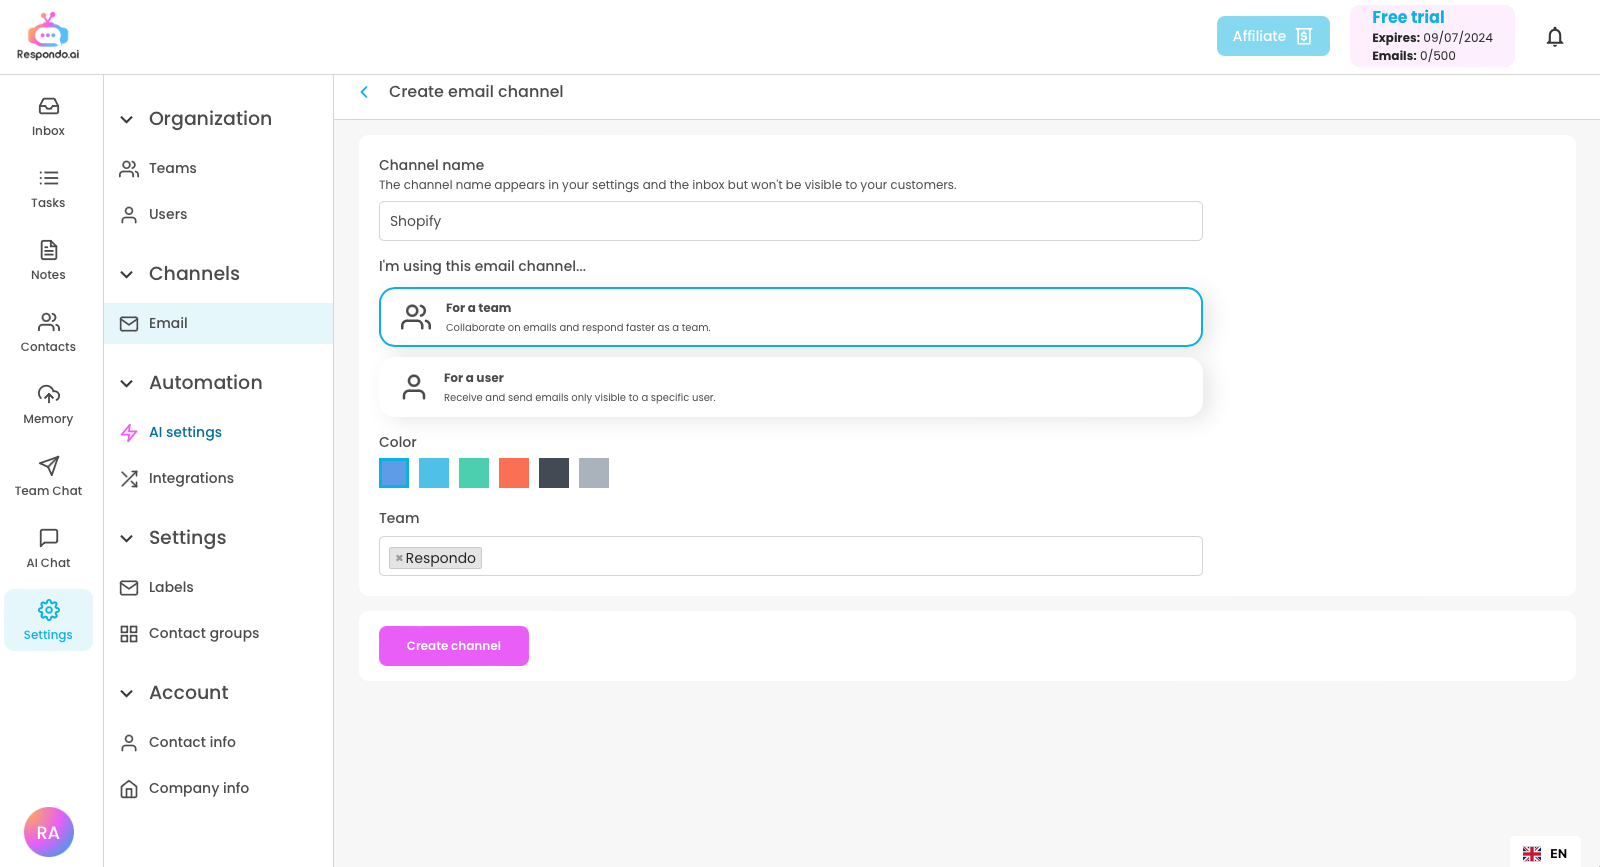
2. Configure channel.
- Name the channel 'Shopify' and select the team responsible for answering Shopify customer questions.
- Click on 'Create channel'.
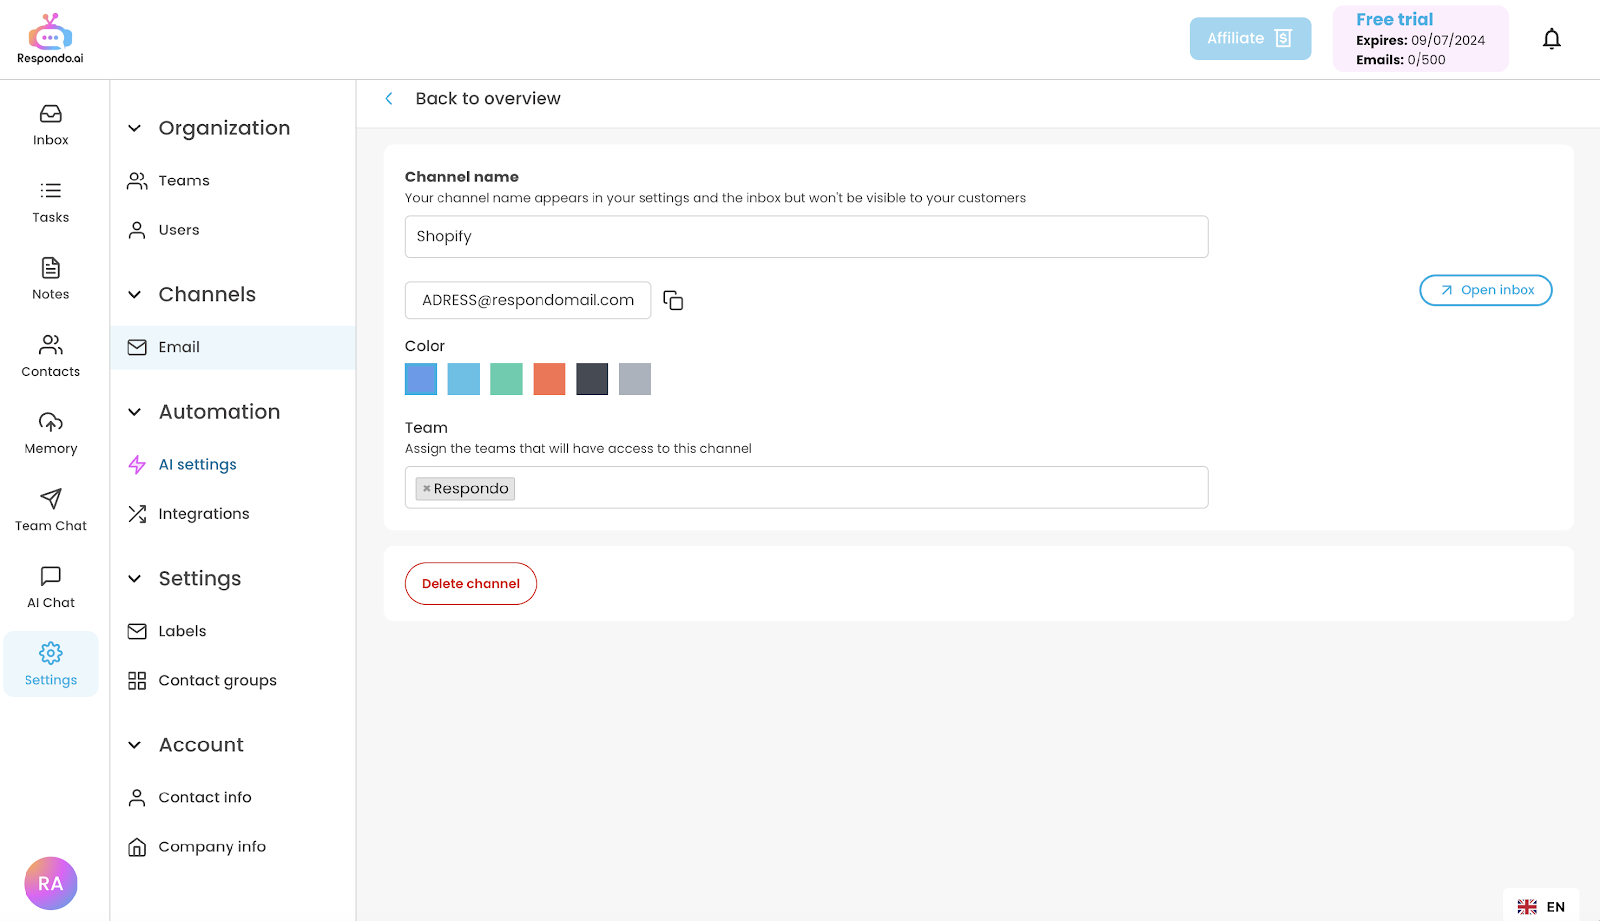
3. Copy the assigned email address.
- You have now created a channel. Under the name of the channel you will find an email address such as xxx@respondomail.com. Copy this address.
Step 2: Set up email forwarding in Shopify
1. Log in to your Shopify account.
- Go to the Shopify dashboard and log in with your login details.
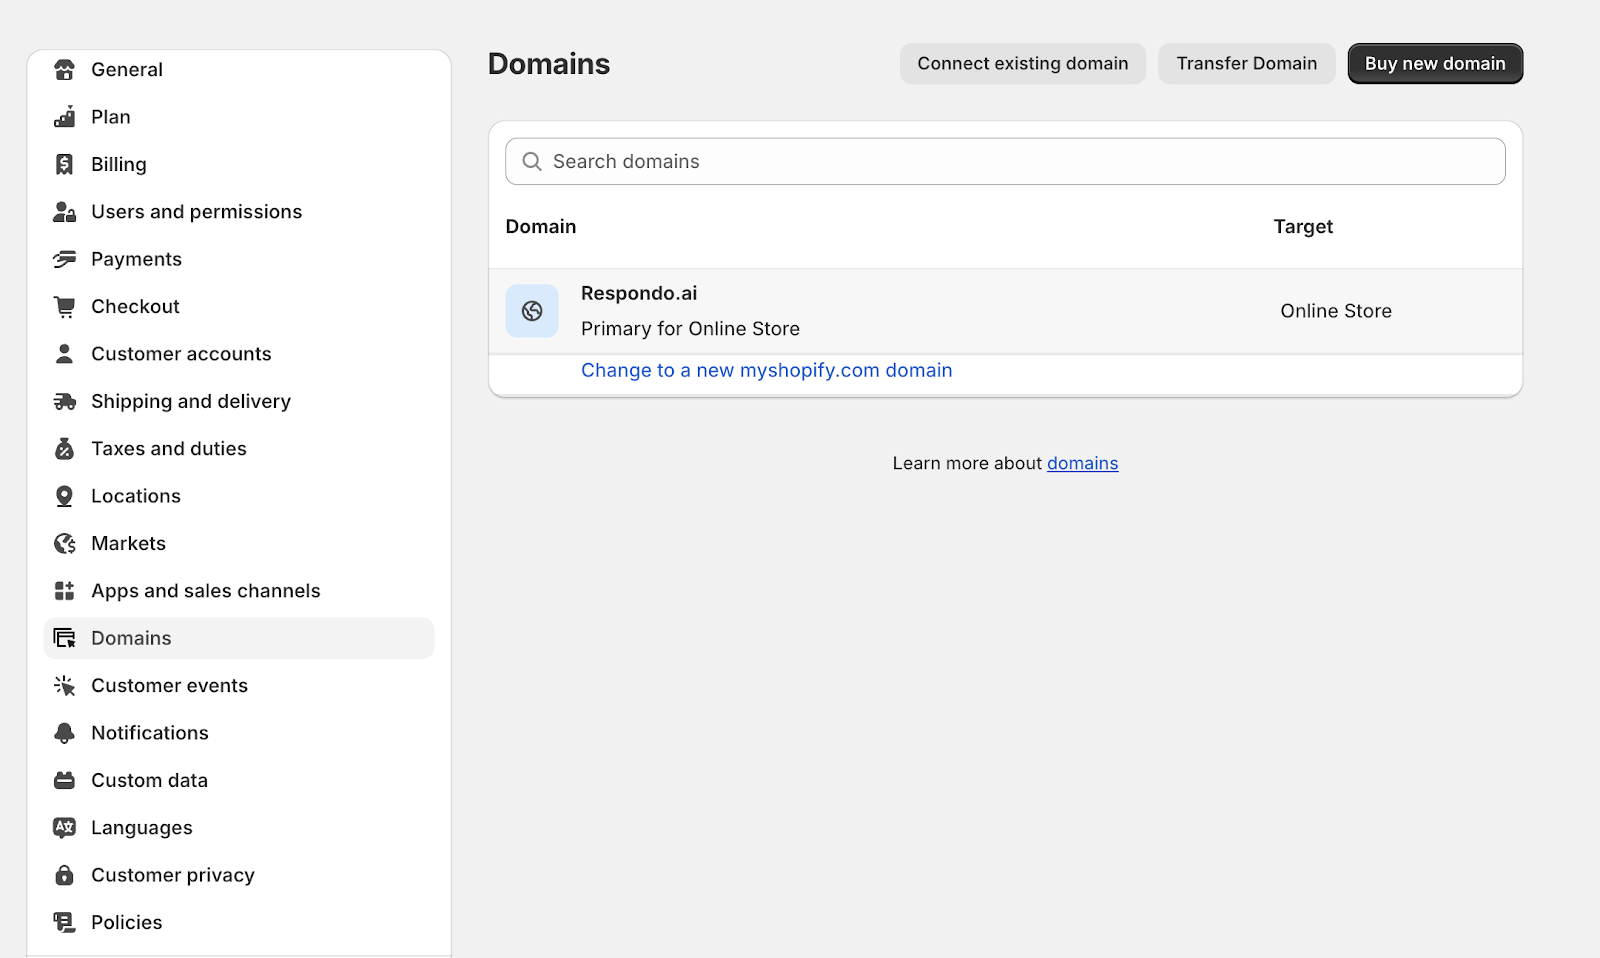
2. Go to your domain settings.
- Click on 'Settings' in the left menu.
- Select 'Domains'.
- Select your domain.
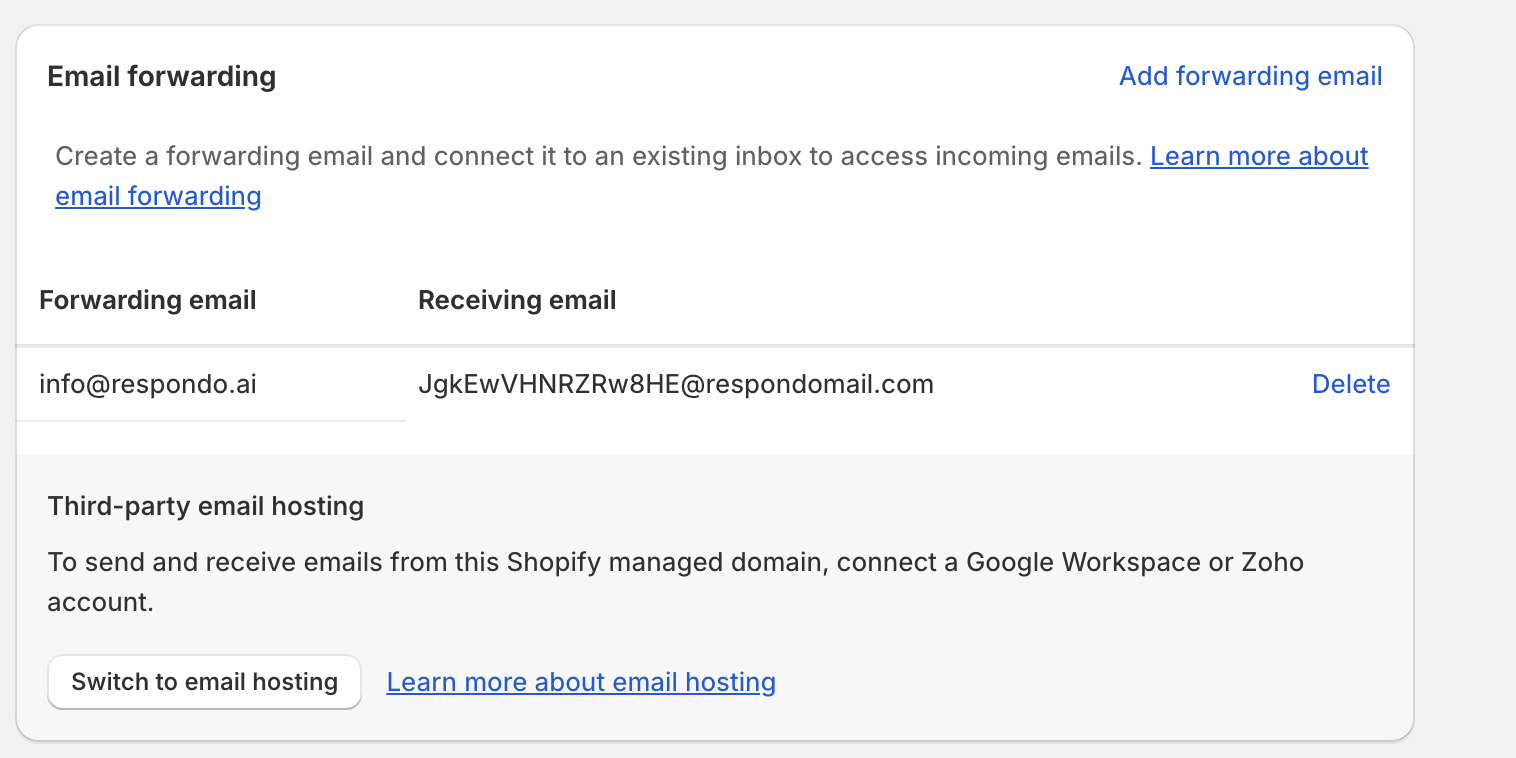
3. Add a forwarding email.
- Scroll down to the 'Email forwarding' section.
- Press 'Add forwarding email address' and add the contact email address of your store where your customer questions come in (e.g. info@yourdomain.com) in the 'Forwarding email' field,
(NOTE: if you are already using this function with a different address, delete the current setup and add it again)
- Enter the xxx@respondomail.com address you obtained when creating your Respondo.ai channel in the 'Receiving email' field.

- Click on 'Save'.
4. Testing
Use a different email address (e.g. a personal email) to send a test message to your store's email address (e.g. info@yourdomain.com).
Related Articles
.svg)
We've built an AI-driven platform that makes managing all customer interactions across various channels easy.


.svg)
.svg)